Whether you’re slicing, dicing, or chopping, mastering the art of using a knife not only makes cooking more enjoyable but also improves efficiency and safety.
Here, we’ll explore some advanced knife techniques, offer tips on selecting the right knives, and provide guidance on maintaining them to ensure you’re always cutting with precision.
Choosing the Right Knives
Before diving into advanced techniques, it’s essential to have the right tools. Here are a few key knives every kitchen should have:
Chef’s Knife (20-25 cm blade): The workhorse of the kitchen, suitable for most tasks.
Paring Knife (8-10 cm blade): Ideal for peeling and intricate work.
Serrated Knife: Perfect for cutting bread and other items with a hard crust and soft interior.
Boning Knife: Used for deboning meat and fish.
Knife Maintenance
Keeping your knives sharp is crucial for effective and safe cutting. Here’s how to maintain them:
Honing: Regularly hone your knife with a honing steel to realign the blade’s edge.
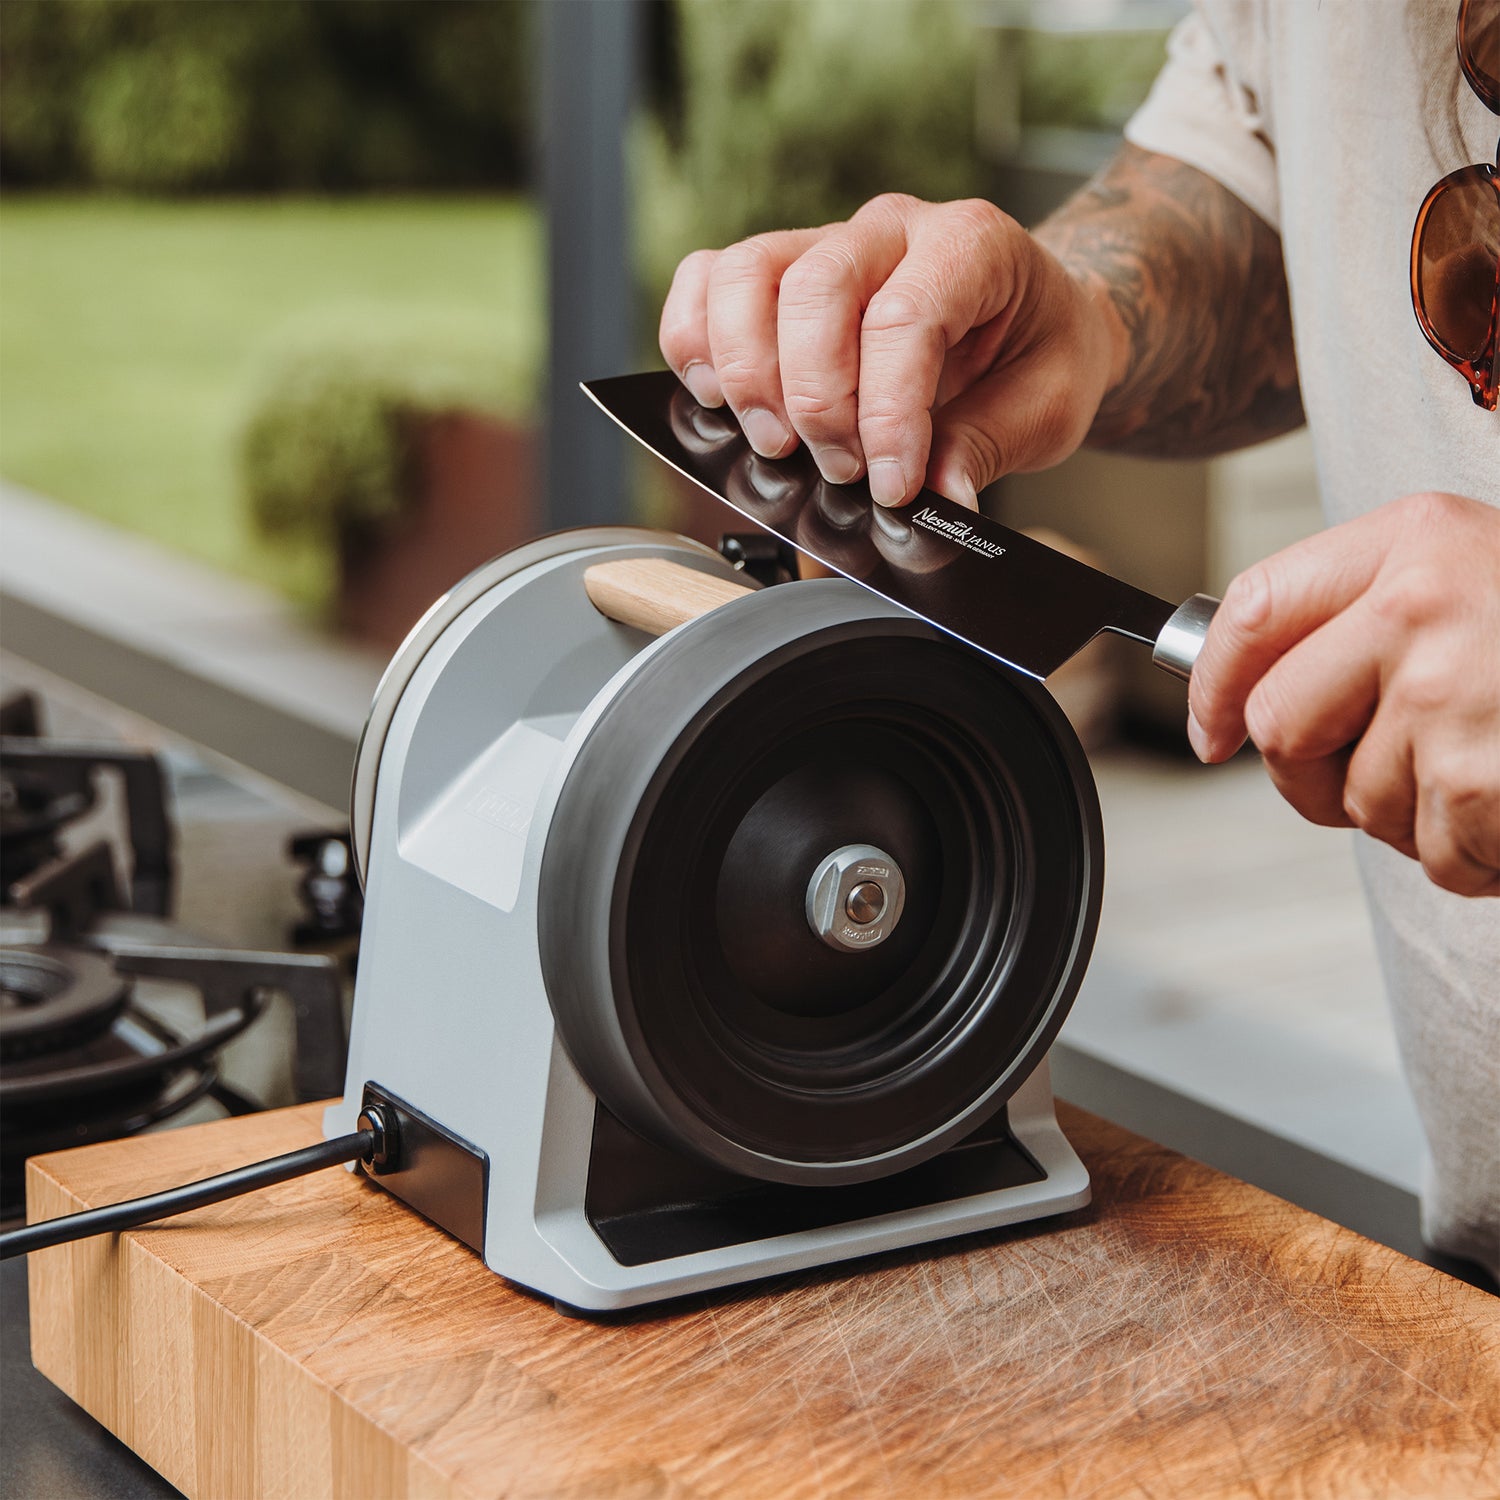
Sharpening: Use a whetstone, a profession knife sharpener or a professional sharpening service to sharpen your knives periodically.
Proper Storage: Store knives in a knife block, magnetic strip, or in-drawer knife holder to protect the blades and to protect fingers.
Advanced Knife Techniques
Now, let’s delve into some advanced knife techniques that can transform your cooking.
1. Julienne
Julienne is a technique used to cut vegetables into thin, matchstick-sized strips. This method is commonly used for carrots, celery, and peppers.
How to Julienne:
Cut the vegetable into 5 cm long sections.
Trim the sides to create a rectangular shape.
Slice the sections into 3 mm thick slices.
Stack the slices and cut them into thin strips.
2. Brunoise
The brunoise cut is a fine dice, typically used for garnishes or in recipes requiring finely chopped vegetables.
How to Brunoise:
First, julienne the vegetable as described above.
Gather the julienned strips and cut them into small cubes, around 3 mm on each side.
3. Chiffonade
Chiffonade is a technique used for slicing leafy vegetables and herbs into thin ribbons, often used for garnishing.
How to Chiffonade:
Stack the leaves on top of each other.
Roll them tightly into a cigar shape.
Slice the roll thinly to create fine ribbons.
4. Paysanne
The paysanne cut involves slicing vegetables into thin, flat pieces. It’s often used for root vegetables in soups or stews.
How to Paysanne:
Slice the vegetable into rounds or half-rounds.
Cut the rounds into thin slices, about 1-2 mm thick.
5. Oblique Cut
The oblique cut is used for cutting long vegetables like carrots or parsnips into pieces with more surface area, allowing for more even cooking.
How to Oblique Cut:
Hold the vegetable at an angle and make a diagonal cut.
Roll the vegetable a quarter turn and make another diagonal cut.
Repeat this process along the length of the vegetable.
Safety Tips
Mastering knife techniques is not just about precision; it’s also about safety. Here are some tips to keep in mind:
Keep Your Knives Sharp: A dull knife is more dangerous than a sharp one because it requires more force, increasing the risk of slipping.
Use a Stable Cutting Board: Ensure your cutting board is secure. Place a damp cloth underneath it to prevent slipping.
Proper Grip: Hold the knife with a firm grip, and use your other hand to guide the food, keeping your fingers tucked in (the “claw grip”).
Practice Makes Perfect
Becoming proficient with advanced knife techniques takes practice. Start with simple tasks and gradually move to more complex cuts. Don’t rush; take your time to ensure precision and safety.
Conclusion
Mastering advanced knife techniques can significantly enhance your cooking experience and the presentation of your dishes. With the right knives, proper maintenance, and dedicated practice, you can slice, dice, and chop like a professional chef in the comfort of your own kitchen. Embrace the journey of learning and enjoy the art of culinary craftsmanship. Happy cooking!
Incidentally in February we covered the Tormek T-1 kitchen knife sharpener. Here is the link to that post:-
https://thatsfoodanddrink.blogspot.com/2024/02/introducing-new-tormek-t-1-kitchen.html


